Map (manual)
You can edit every aspect of the map, from buildings, to roads and backgrounds.
To start editing the map, press the edit settlement layout button above the settlement name:

Then, select the 'Edit manually' option.
Editing the map is only available on large screen devices (as touch support for the editing doesn't exist).
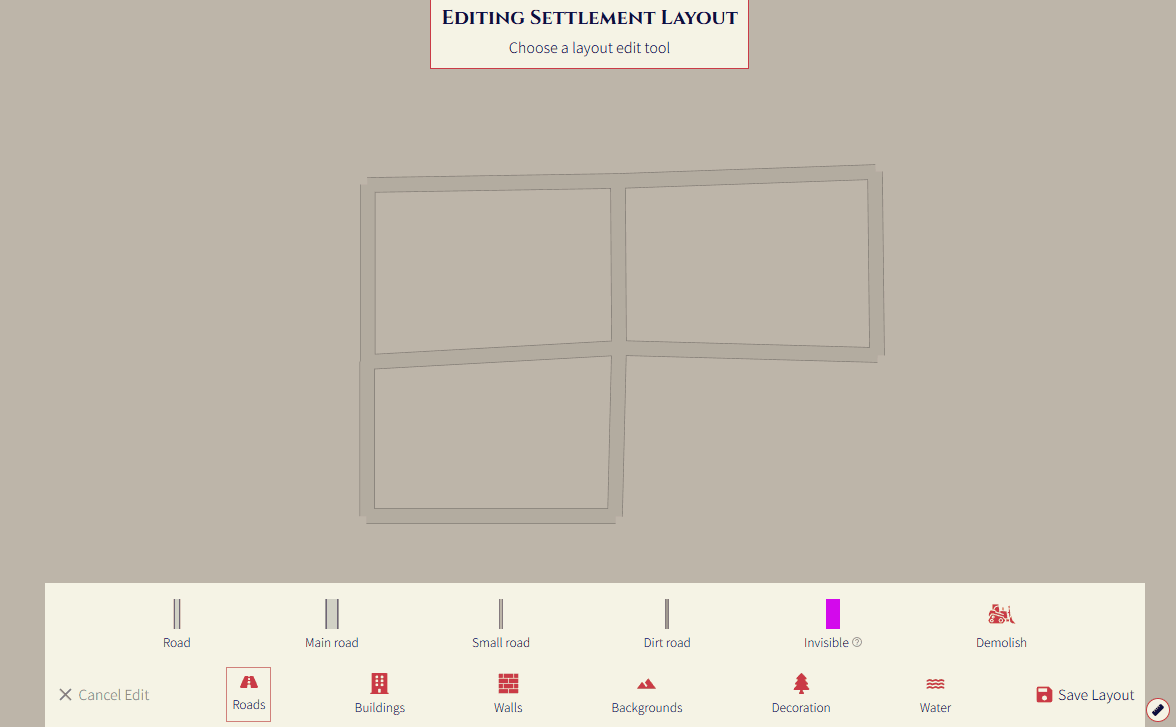
Roads
You can edit the roads (& all the edges) in the settlement. When you open the road menu, invisible edges will become visible. These invisible edges help guide the fill features.
Placing
You can place roads, main roads, dirt roads, and invisible roads. Click the map to start placing a road, and click elsewhere on the map to continue the chain. Roads can't overlap - they must have properly defined intersections (so filling works as expected). When you snap to an existing edge, an intersection is created. You can press right click to cancel the current action.
Demolish
You can click road segments one at a time to delete, or hold CTRL and hover over roads to delete them.
Buildings
Place single
You can place a building with a predefined shape. Click the map once to lock in the position, them move the mouse around to rotate the building. Click the map again to lock in the rotation and place the building.
Alternatively, you can CTRL-click the map initially to place the building immediately, skipping the rotation step.
You can right-click to undo the current action, and you can hold CTRL while moving the scroll wheel to make the building bigger or smaller.
Draw
You can shape a building by drawing its outline. Click the map to create the points, and then click on the first position to complete the shape. Right-click can be pressed to undo the previous point.
Paint
You can configure a building style (e.g. colour, height, roof shape), and then click buildings to apply the style. You can also hold CTRL and hover over buildings to apply the style.
Move
Click a building, and you'll be able to move it (using the same controls as the place single building).
Swap
Click one building, then click another. This will swap all the details of the buildings (e.g. building name, residents).
If you have an existing building, and you want to change its layout, you can place a new building in the style you want, and then swap the two buildings.
Walls
Placing
Walls and stone fences have the same controls as roads.
Towers
Click the map to place a tower at that position.
Demolish
You can click walls and towers one at a time to delete, or hold CTRL and hover over to delete them.
Water
Fill
You can fill water backgrounds in an area surrounded by roads (and any edge). Click the map in the area you want to be filled.
Draw water shape
You can shape a water body by drawing its outline. Click the map to create the points, and then click on the first position to complete the shape. Right-click can be pressed to undo the previous point.

Draw river path
You can shape a river by only drawing its rough path - not having to draw both sides of the river bank (like with the draw water shape tool). Click points to form the path of the river, and click 'complete' once done. You can also CTRL-click the final point to immediately complete.
After this, you'll be able to configure the river width, and how smooth the bending should be.

Backgrounds
The order of the background layers (from bottom to top) is background, water, below road, above road. If you
save a layout and don't see your new texture, it might be behind another layer.
Fill
You can fill background textures in an area surrounded by roads (and any edge). Click the map in the area you want to be filled. Select the type of texture to be custom colour if you want to use a custom colour. Similar behaviour to the water fill tool shown above.
Draw�
You can shape a background by drawing its outline. Click the map to create the points, and then click on the first position to complete the shape. Right-click can be pressed to undo the previous point. Similar behaviour to the draw water tool shown above.
Edit
Pick the new texture type you want to apply, then click existing textures to change them.
Demolish
Click a background to delete it.
Rocks and trees
There are two ways to place natural decorations: individually or by defining a decoration area. Individual decorations can be placed with the 'Place individual' and 'Brush multiple' options, while a decoration area can be defined with the 'Fill area' and 'Draw area shape' tools.
Individual decorations
Individual decorations are those which are specifically saved with a given coordinate. These decorations have more detail than their decoration-area counterparts.
To use the place individual decorations tool, click on the map for where you want to place a decoration, holding the CTRL key and scrolling in or out to scale the size. When the settlement is saved, the decoration will appear where you saved it. Use the left pane controls to change the decoration type.
The brush multiple tool lets you place multiple individual decorations within an area. Use the left-pane controls to change the decoration type, to control the radius of the brush, and how configure how many decorations are placed. Click the map to place decorations. Press right-click to exit the tool.
Decoration areas
Decoration areas are saved as a shape, which are then randomly filled with decorations when the map is rendered. This is useful to place a large number of decorations in an area, e.g. to create a forest. These decorations are slightly less detailed than individual decorations to improve performance in large numbers.
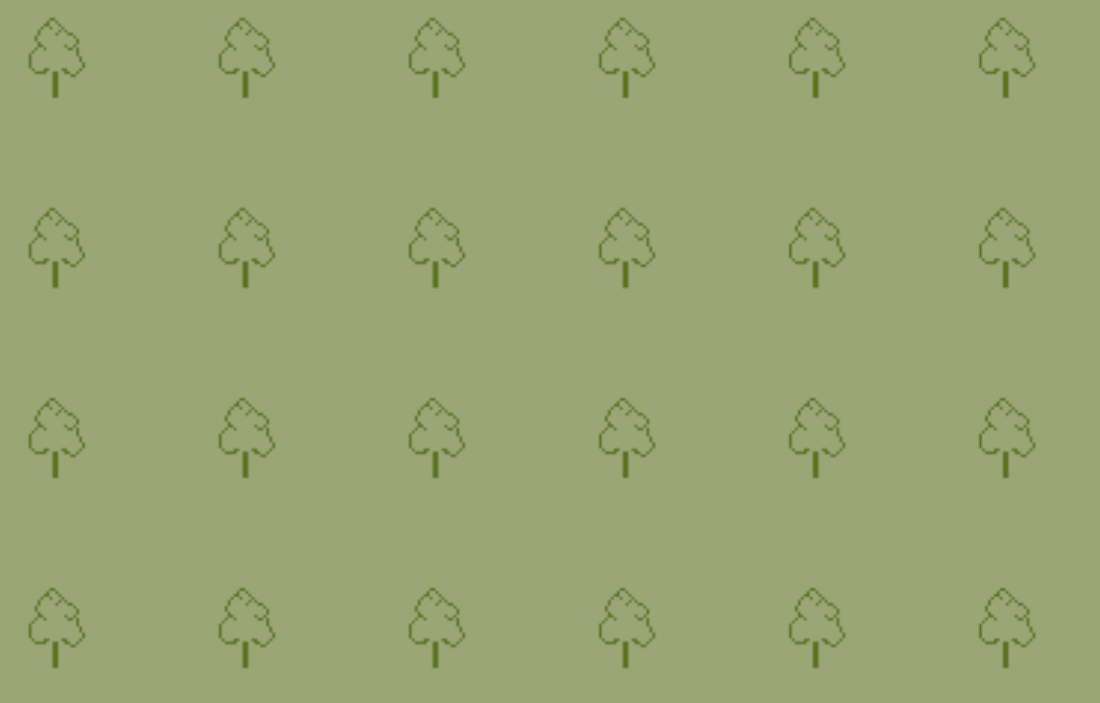
When editing the map, decoration areas will stop rendering the decorations, and the areas themselves only become visible when you click the trees and rocks edit group. Tree areas have this texture:
Other decoration types have similar textures.
These can be deleted with the demolish tool and can be placed with the 'fill area' and 'draw area shape' tools. These behave like the fill water and draw water shape tools shown above. Use the left pane controls to change the decoration type, and configure the density of the area.
Demolish
Clicking the demolish button allows you to delete individual decorations and decoration areas.
Decorations
Click the map to place the decoration. Hold CTRL and use the scroll wheel to make the decoration bigger or smaller.
Demolish
You can click decorations one at a time to delete, or hold CTRL and hover over to delete them.
Demolish
Click a water body to delete it.